Docker for Beginners: Setting Up a Development Environment Using Docker Compose
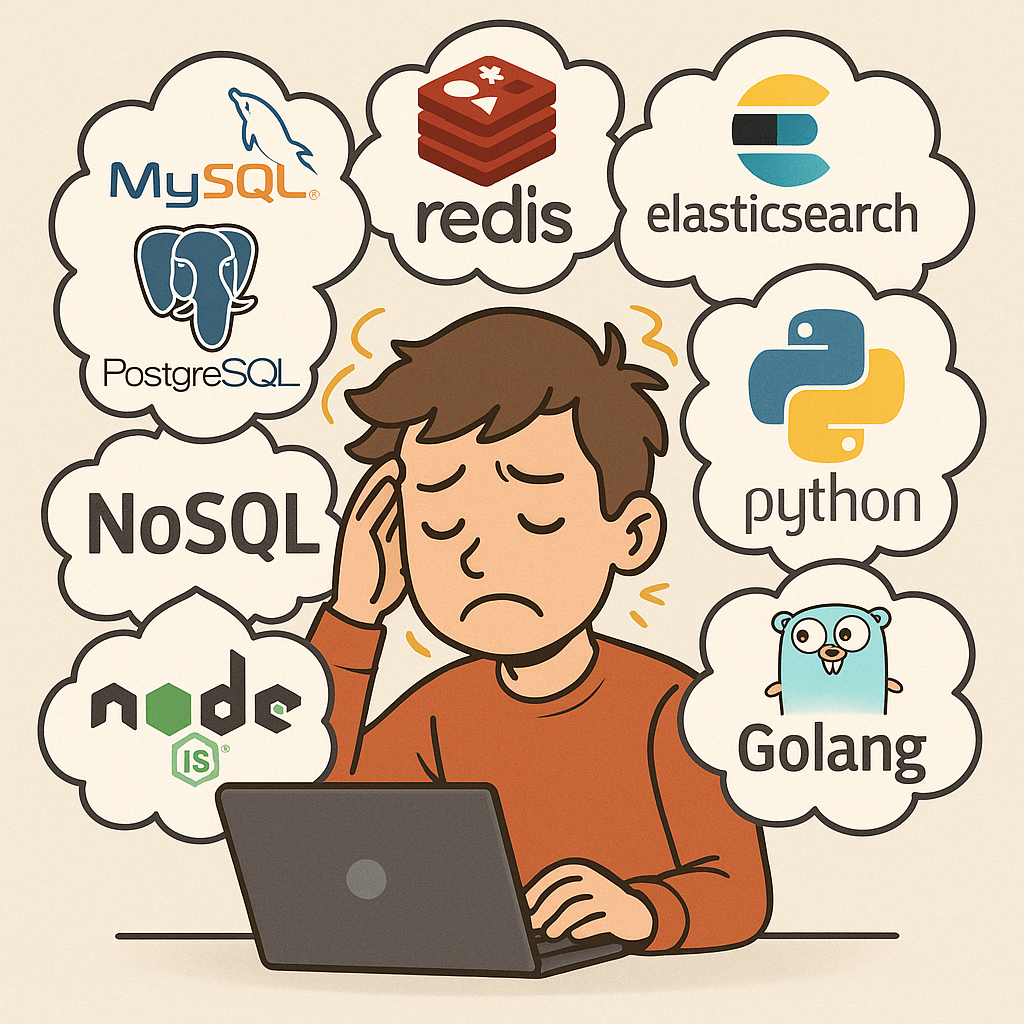
As developers, we've all been there — excited to dive into a new project, only to spend hours (or days) wrestling with environment setup. Each project demands its own cocktail of dependencies, language versions, databases, and configuration quirks. Before you can even write a single line of code, you're already knee-deep in version conflicts and "works on my machine" nightmares. It's frustrating, time-consuming, and honestly, a buzzkill for productivity.
Meet Docker — your dev environment’s best friend. It packages your app with all its dependencies into lightweight containers that run consistently anywhere — no more “it works on my machine” drama.
In this post, we’ll show how to use Docker Compose to set up a clean, reproducible development environment that saves time, avoids conflicts, and lets you focus on what really matters: building great software.
So, what is Docker, exactly?
Imagine if setting up a development environment was as easy as hitting "play." That’s the magic of Docker. It’s an open-source platform that simplifies the process of building, shipping, and running applications — by packaging everything your app needs (code, libraries, dependencies, configs) into a neat, portable unit called a container. With Docker, your app behaves the same whether it's running on your laptop, your teammate's machine, or a cloud server. Goodbye, environment mismatches.
Wait — what's a container?
Think of a container as a tiny, self-contained bubble that holds your app and everything it depends on. Unlike virtual machines, containers don't carry a full-blown operating system inside. Instead, they share the host machine’s OS kernel, making them super lightweight, fast to start, and resource-friendly. This means you can run more containers with less overhead, spin them up in seconds, and keep your environment clean and consistent.
🚀 Getting Started with Docker
Before you can harness the power of Docker, you’ll need to get it up and running on your machine. Thankfully, installing Docker is pretty straightforward, and once it's set up, you're ready to spin up containers like a pro.
To make things easier, I’ve put together a step-by-step guide for installing Docker on Linux, macOS, and Windows. Whether you're a beginner or just need a quick refresher, you can follow along here:
👉 How to Install Docker on Any OS – A Quick Start Guide
🧪 Your First Docker Run: Hello, Ghost!
Let’s try Docker in action by running a real-world app — Ghost, a popular open-source blogging platform.
With just one command, Docker will pull the image, set up everything, and run it in a container:
docker run -d --name my-ghost-blog -p 2368:2368 ghostHere’s what’s happening:
-d: runs the container in detached mode (in the background)--name my-ghost-blog: gives your container a friendly name-p 2368:2368: maps port 2368 on your machine to the container, so you can access itghost: tells Docker to use the official Ghost image from Docker Hub
After a few seconds, open your browser and visit http://localhost:2368 — voila! you should see your new Ghost blog up and running!
⚙️ Time to Level Up: What About Your Project?
Running a single container like Ghost is fun and easy — but what if we’re talking about your own project? Say, a REST API that needs PostgreSQL or other services to work properly?
Managing everything manually with docker run quickly becomes a hassle — lots of commands, tricky configurations, and plenty of room for mistakes. This is where Docker Compose steps in to save the day. With a single configuration file, you can define and run your entire app stack with just one command.
🛠 Simulating a Real Project: REST API + PostgreSQL
Let’s walk through an example: you’re building a basic REST API that relies on PostgreSQL. Using Docker Compose, we can spin up both services together effortlessly.
Folder Structure
my-rest-api/
├── Dockerfile
├── app/
│   └── main.go
├── docker-compose.yml
Dockerfile (Simulating the API with Go)
FROM golang:1.21

WORKDIR /app
COPY app/ .

RUN go build -o api .

CMD ["./api"]
Dockerfile
Example API Code (app/main.go)
package main

import (
	"fmt"
	"net/http"
)

func main() {
	http.HandleFunc("/", func(w http.ResponseWriter, r *http.Request) {
		fmt.Fprintln(w, "Hello from Dockerized API!")
	})
	fmt.Println("Server running on :8080")
	http.ListenAndServe(":8080", nil)
}
main.go
docker-compose.yaml
version: '3.8'

services:
  api:
    build: .
    ports:
      - "8080:8080"
    depends_on:
      - db
    environment:
      - DB_HOST=db
      - DB_PORT=5432
      - DB_USER=postgres
      - DB_PASSWORD=secret
      - DB_NAME=mydb

  db:
    image: postgres:16
    environment:
      POSTGRES_USER: postgres
      POSTGRES_PASSWORD: secret
      POSTGRES_DB: mydb
    volumes:
      - pgdata:/var/lib/postgresql/data

volumes:
  pgdata:
docker-compose.yaml
Running the Project
Once everything’s in place, just run:
docker-compose up --buildAnd voilà — your REST API is now live at http://localhost:8080, fully connected to a PostgreSQL database running in a separate container.
➕ What If You Want to Add Redis?
One of the biggest strengths of Docker Compose is how effortlessly you can add new services to your stack. Let’s say your REST API needs Redis — maybe for caching, background jobs, or rate limiting.
Adding Redis is as simple as dropping another service block into your docker-compose.yml. Here’s how:
Updated docker-compose.yml with Redis
version: '3.8'

services:
  api:
    build: .
    ports:
      - "8080:8080"
    depends_on:
      - db
      - redis
    environment:
      - DB_HOST=db
      - DB_PORT=5432
      - DB_USER=postgres
      - DB_PASSWORD=secret
      - DB_NAME=mydb
      - REDIS_HOST=redis
      - REDIS_PORT=6379

  db:
    image: postgres:16
    environment:
      POSTGRES_USER: postgres
      POSTGRES_PASSWORD: secret
      POSTGRES_DB: mydb
    volumes:
      - pgdata:/var/lib/postgresql/data

  redis:
    image: redis:7
    ports:
      - "6379:6379"

volumes:
  pgdata:
docker-compose.yaml
And that’s it — now your API has a Redis server available at redis:6379, ready to use. You can easily connect to it in your application using a Redis client for your programming language of choice.
With just a few lines in your Compose file, your development environment becomes more powerful and realistic — just like it would be in production.
Docker Compose scales with your needs. Whether you're working on a solo project or a full-blown microservices system, it's got your back.
✅ Conclusion: Develop Smarter, Not Harder
Setting up local development environments used to be tedious — battling with mismatched dependencies, manual installations, and "it works on my machine" headaches. But with Docker and Docker Compose, those days are behind us.
By containerizing your apps and defining your full stack in a simple YAML file, you gain:
- 🚀 Speed: Get up and running in seconds
- 🔁 Consistency: Same environment across all machines
- 🧩 Scalability: Easily add services like PostgreSQL, Redis, and more
- 🔒 Isolation: No more polluting your local system
Whether you're building a hobby project or a production-grade system, Docker helps you stay focused on writing great code — not fighting your setup.